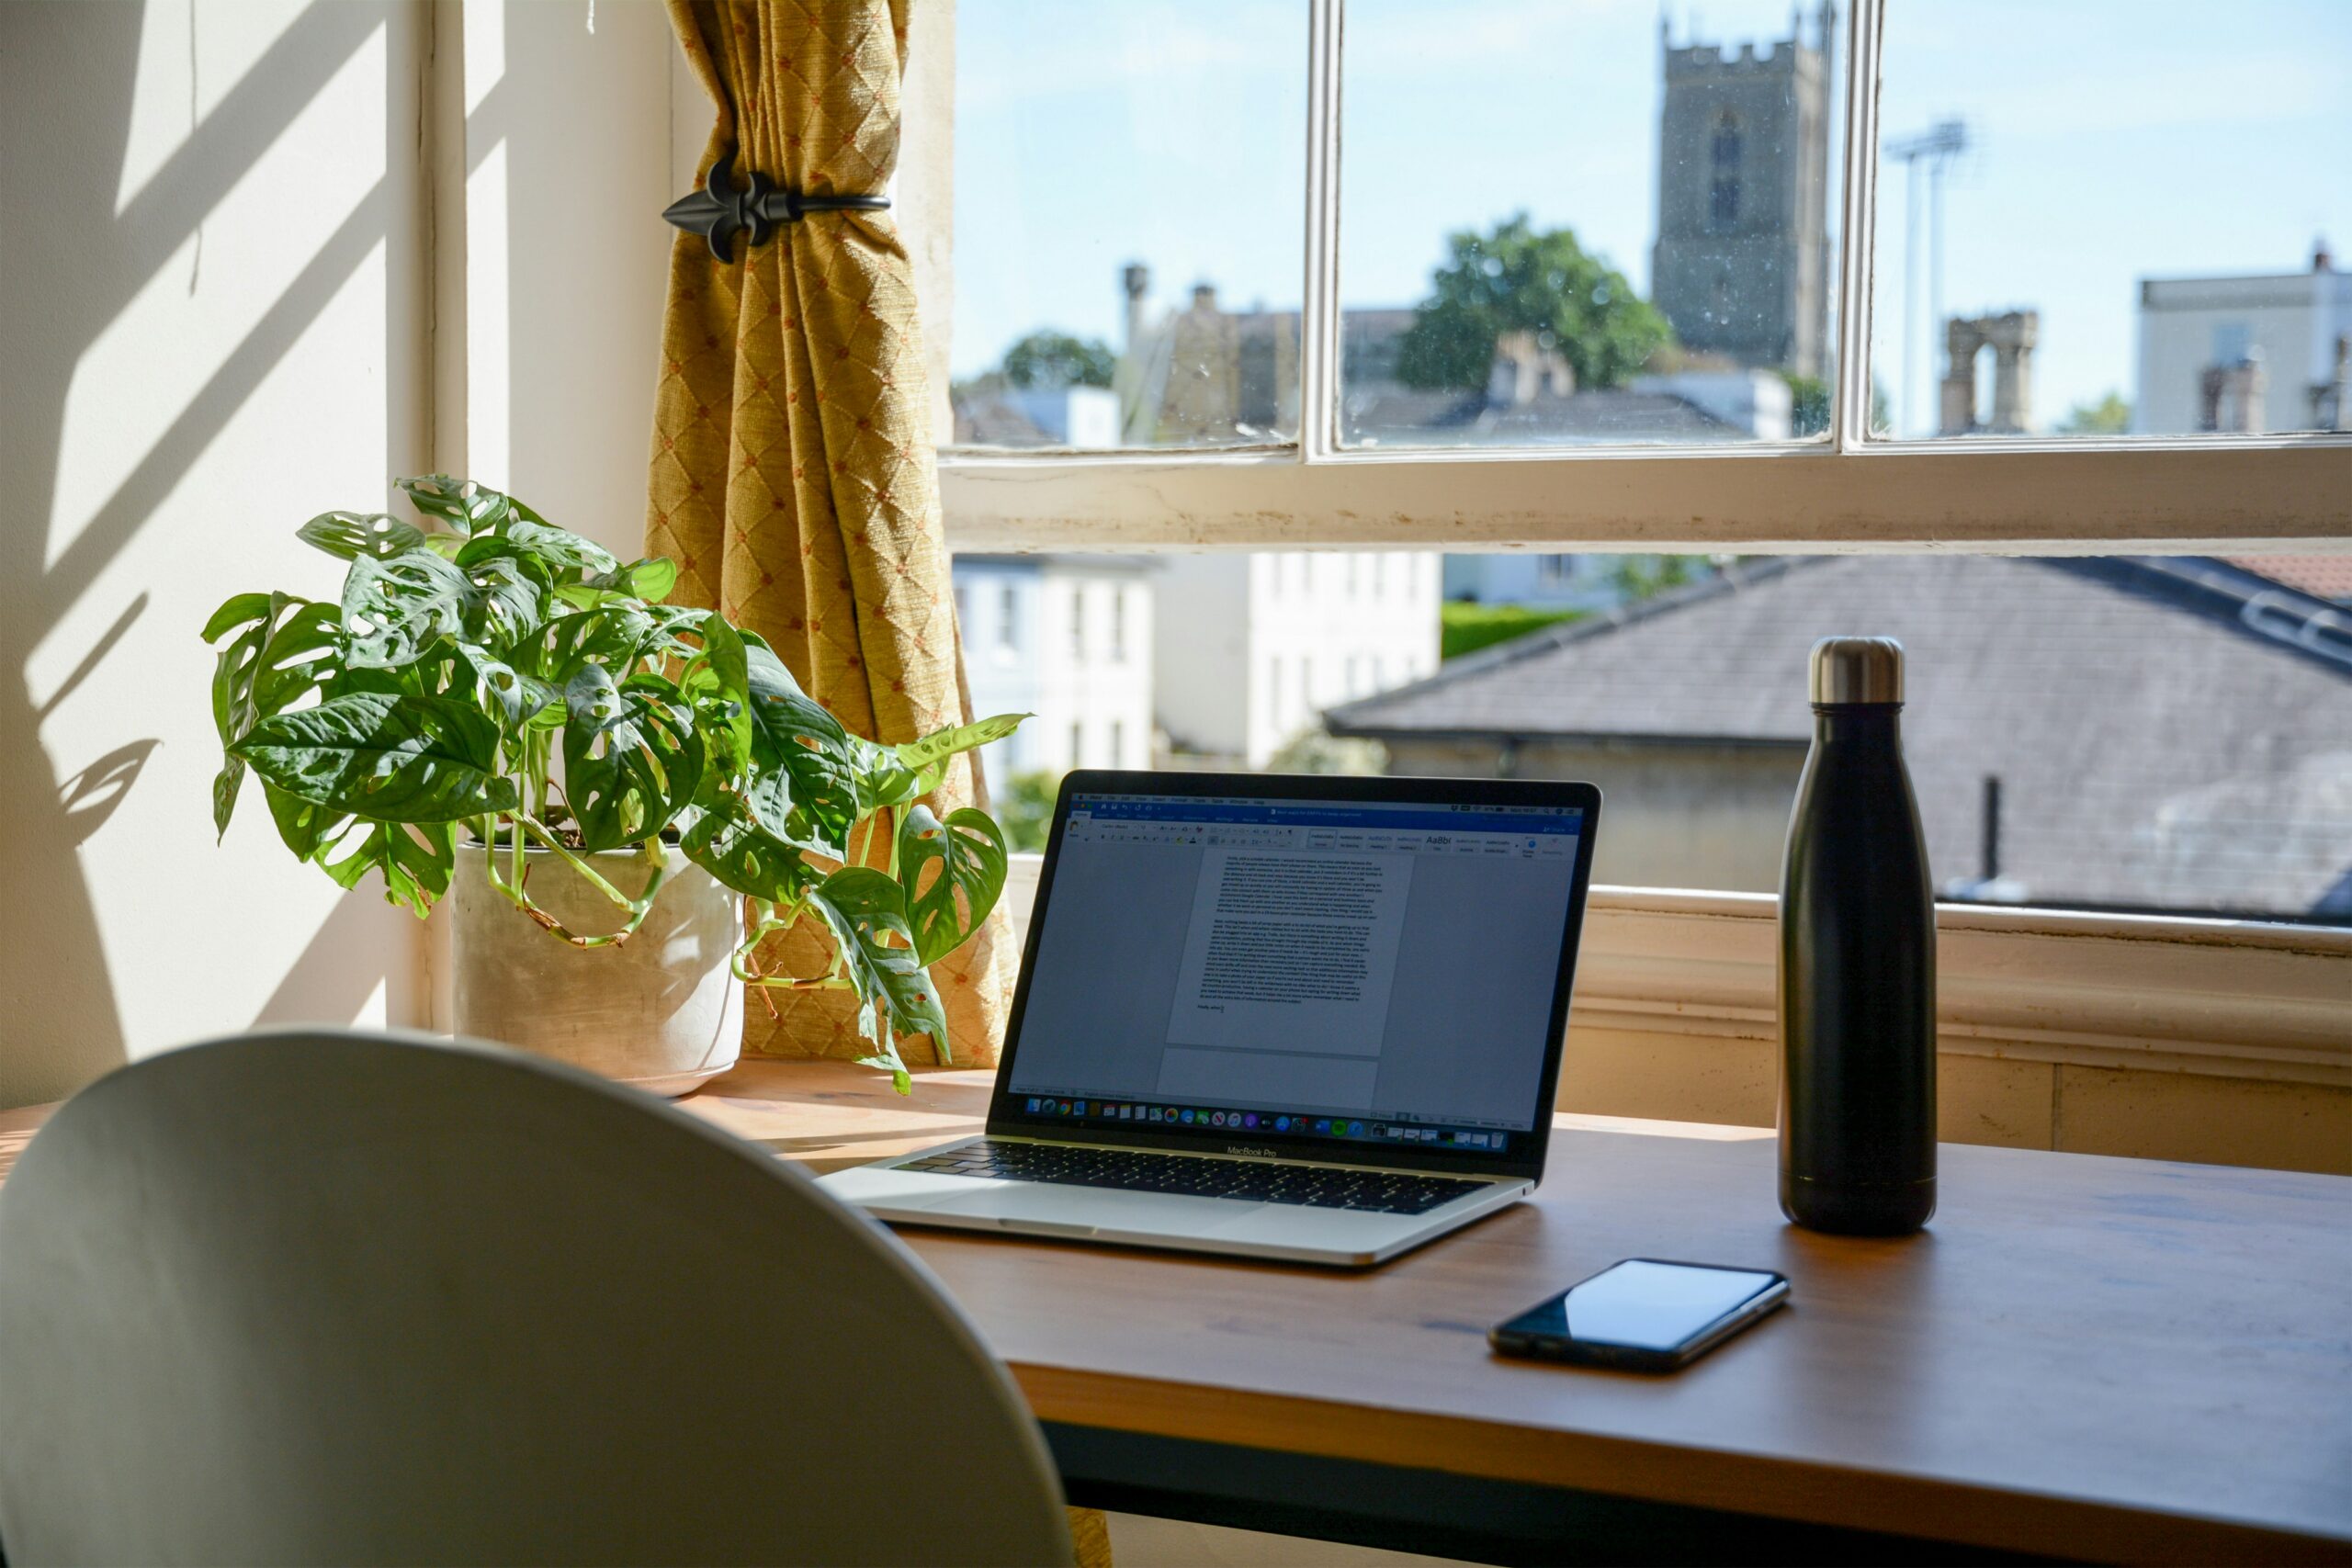
Yes, your MacBook can run Project NOMAD. The install is the same Docker Desktop route our Mac mini build used, but a laptop is not a desktop: it sleeps when you close the lid, it throttles under sustained load, and it answers to a battery. This guide covers what changes, section by section.
Yes, Your MacBook Can Run Project NOMAD
The requirements are modest. Per the project README, NOMAD asks for a 2 GHz dual-core processor, 4 GB of RAM, and 5 GB of free disk (10 GB to install comfortably). Adding the AI Assistant grows the install to roughly 25 GB. Any Apple-silicon MacBook clears that bar with room to spare.
The other half of the requirement list belongs to Docker Desktop for Mac, the container runtime the macOS community port builds on. Docker’s documented requirements: a supported macOS version (the current release plus the two before it) and at least 4 GB of RAM, with Rosetta 2 recommended for emulating the handful of x86-only tools in the stack.
This is the laptop companion to our offline-knowledge series: the Mac mini walkthrough carries the full install (the clone, the installer script, the Rosetta gotcha, the 40-minute setup), and this article links there for steps rather than repeating them. Everything below assumes that foundation and covers the physics a laptop adds.
One line for the Intel MacBook owners: the same Docker path works on Intel machines, but Apple’s macOS support window for Intel is shrinking, so treat an Intel MacBook as a repurpose-the-old-machine play, not a plan you’d buy into.
The One Thing the Mac mini Guide Can’t Tell You: the Lid
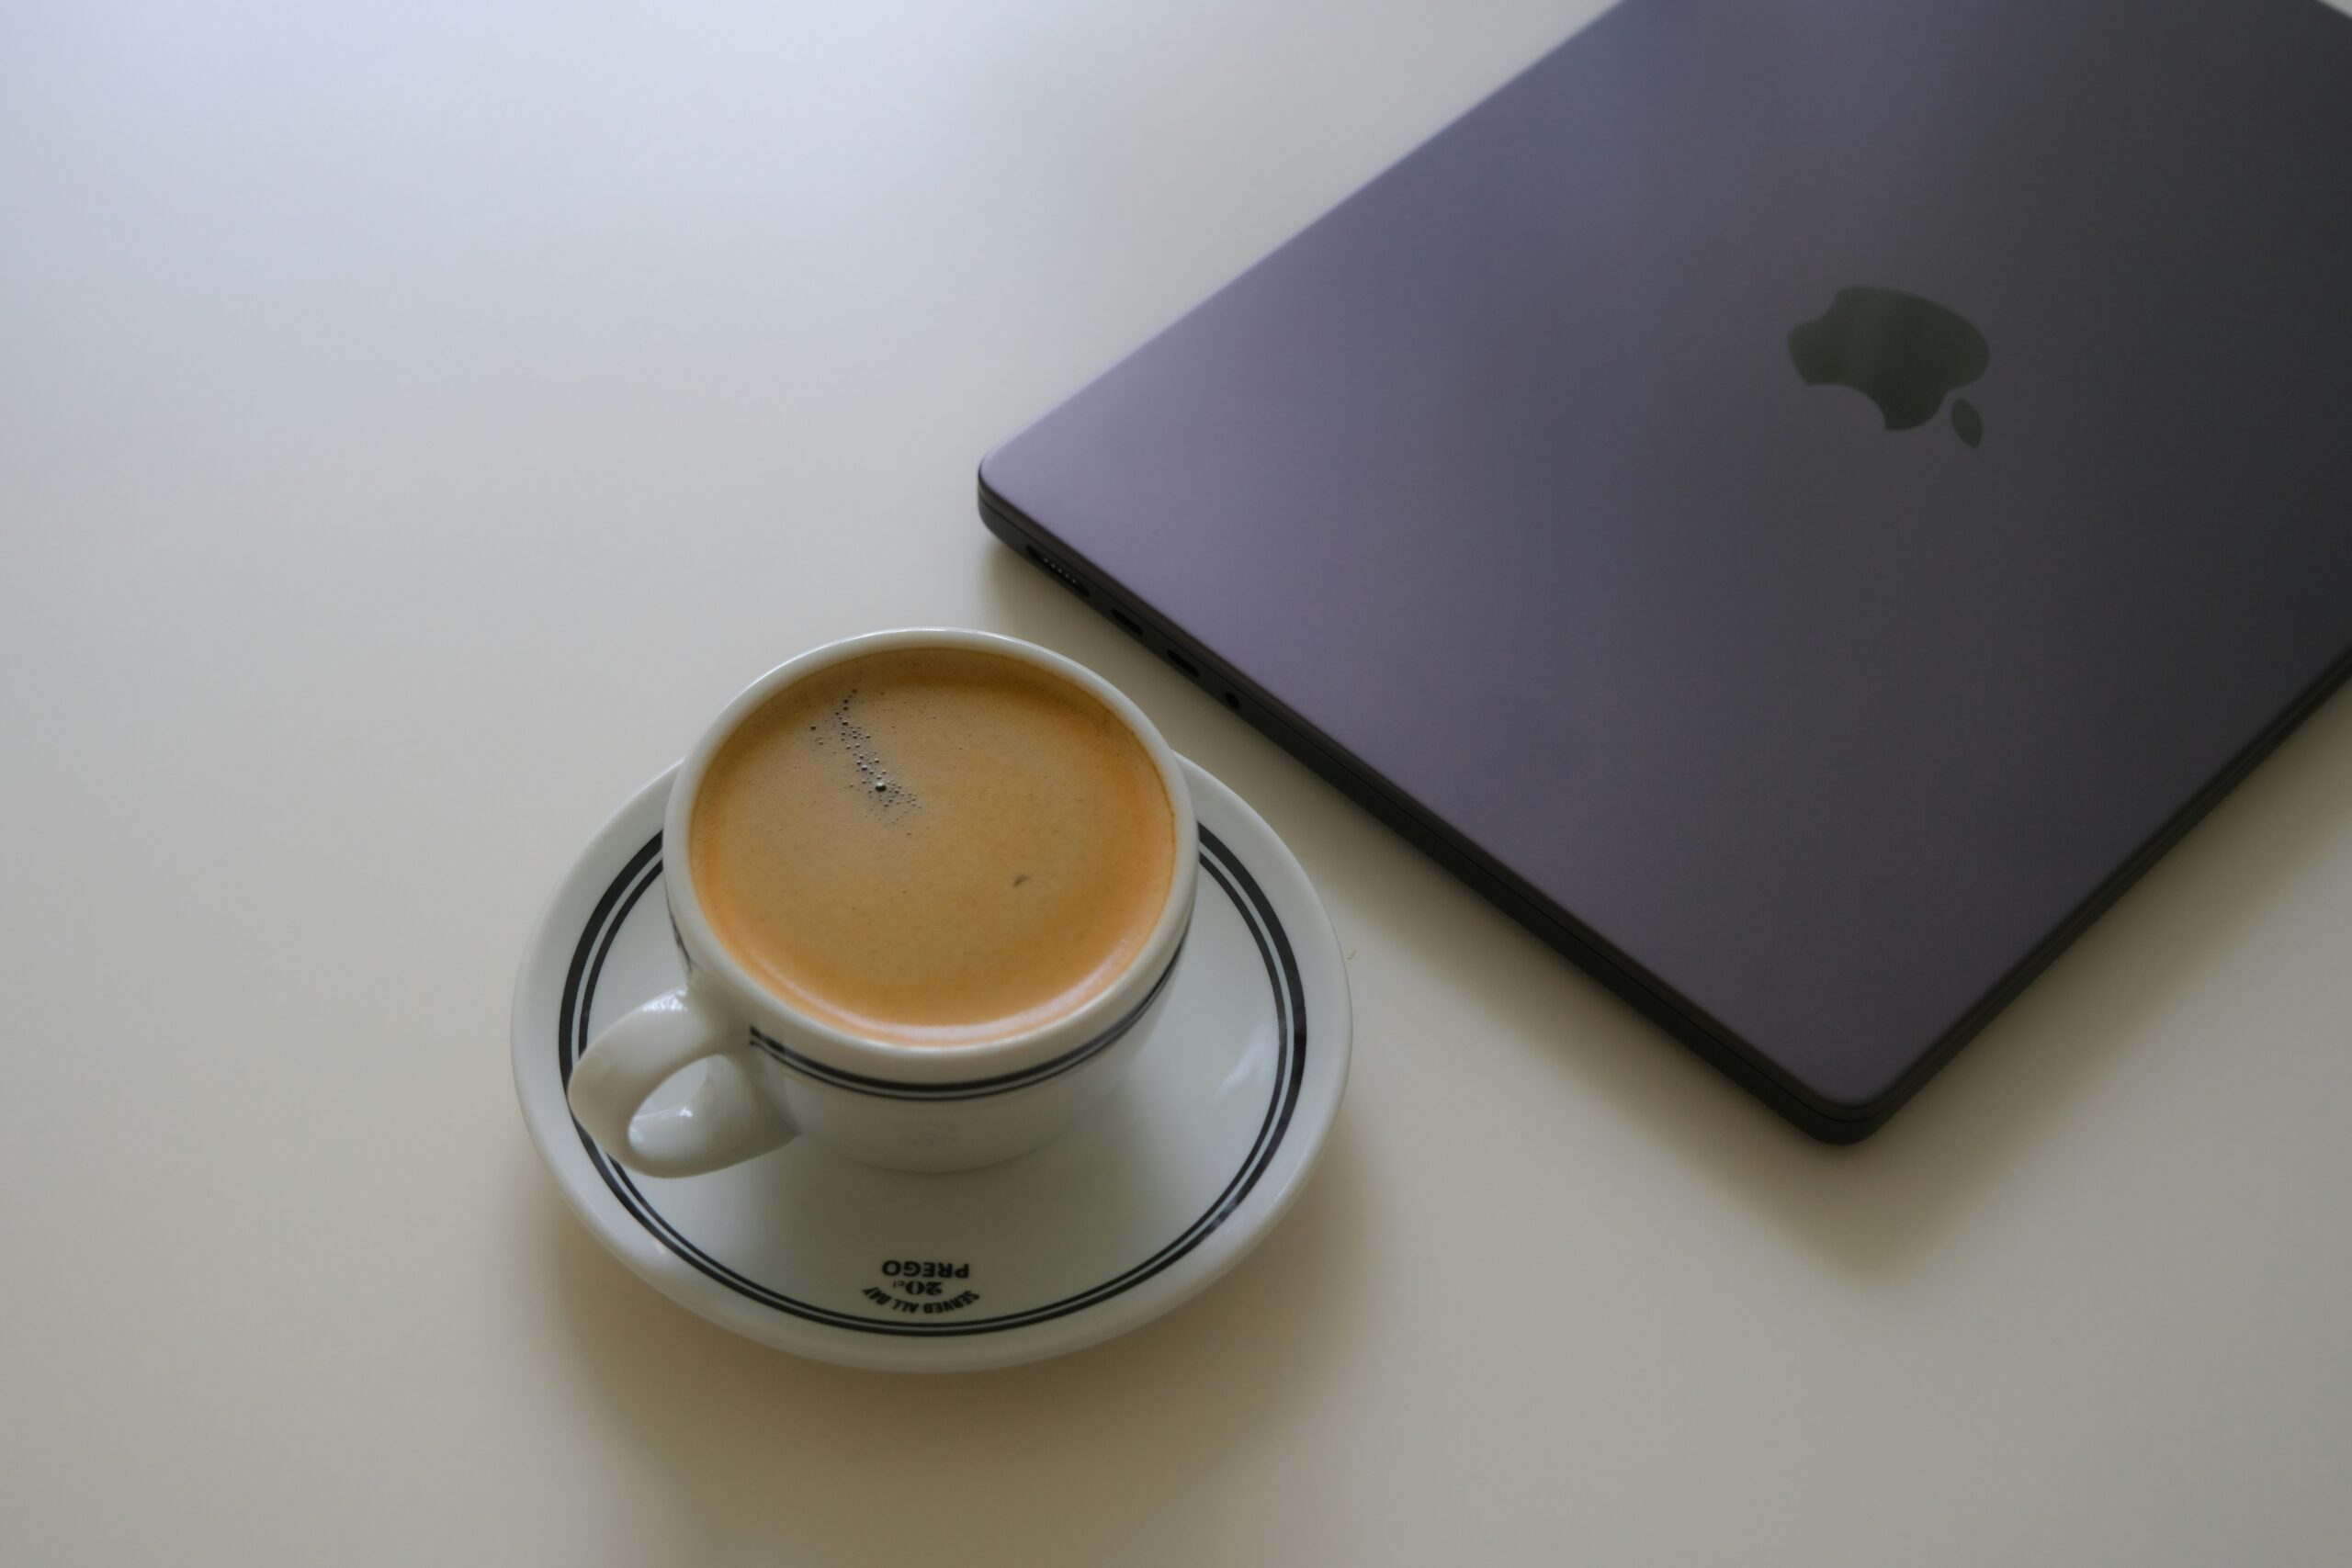
A Mac mini doesn’t have a lid. A MacBook does, and macOS is designed to put the machine to sleep the moment you close it. Sleep means every container stops, and your library goes dark. That’s the one failure mode a desktop build never has to think about.
According to Macworld’s rundown of closed-display MacBook use, you have four workable options:
Keep the lid open, plugged in. Zero configuration, screen can sleep independently, and the machine stays reachable. This is the default I’d recommend for most people.
Clamshell mode. Apple’s supported closed-lid path: an external display, keyboard, and mouse connected while the machine is on power. If your MacBook doubles as a desk setup, this is tidy: one cable ecosystem, no terminal tweaks.
Disable lid sleep in software. The terminal command sudo pmset -a disablesleep 1 stops the Mac from sleeping in every scenario, reversed later with sudo pmset -a disablesleep 0. It works, but per the pmset reference it applies system-wide, so forgetting to reverse it before bagging the laptop for a trip costs you battery.
A keep-awake utility. Amphetamine is the free, well-regarded option, and it lets you scope the rule (only while on power, only during set hours) instead of flipping a global switch.
The serving pattern that makes sense for a resilience box: lid open or clamshell, on wall power, library up all day. Battery serving is the outage mode, not the default. A laptop that lives at 100 percent charge around the clock will wear its battery faster than one that cycles normally, so keep it plugged in when it’s the family server and unplug it sometimes when it’s your laptop.
Thermals: Fanless Air vs. Fan-Cooled Pro
The MacBook Air has no fan. Notebookcheck’s review of the 13-inch M4 Air measured what that means in practice: the chip pulls about 20 W in short bursts, then settles to roughly 8 W sustained once the passive heat sink saturates. Under a half-hour sustained CPU load, its multi-core score dropped 13 percent, and the actively cooled M4 in the MacBook Pro 14 ran 21 percent faster in that same long test.
Now calibrate those numbers to the workload. Serving Wikipedia, Kolibri, and maps from Kiwix is light, bursty work that sits far below sustained stress. The Air handles it without drama, and its measured idle draw went as low as 1.9 W.
Sustained AI generation is where the passive ceiling shows. Long document summaries or batch jobs push the fanless chassis toward its ~23 to 30 W combined stress range, and the chip steps down to protect itself. AI works on an Air; it’s faster and more consistent on a MacBook Pro, or on the Mac mini from the pillar build, where a fan does the job a chassis can’t.
Storage: When the Library Outgrows the SSD
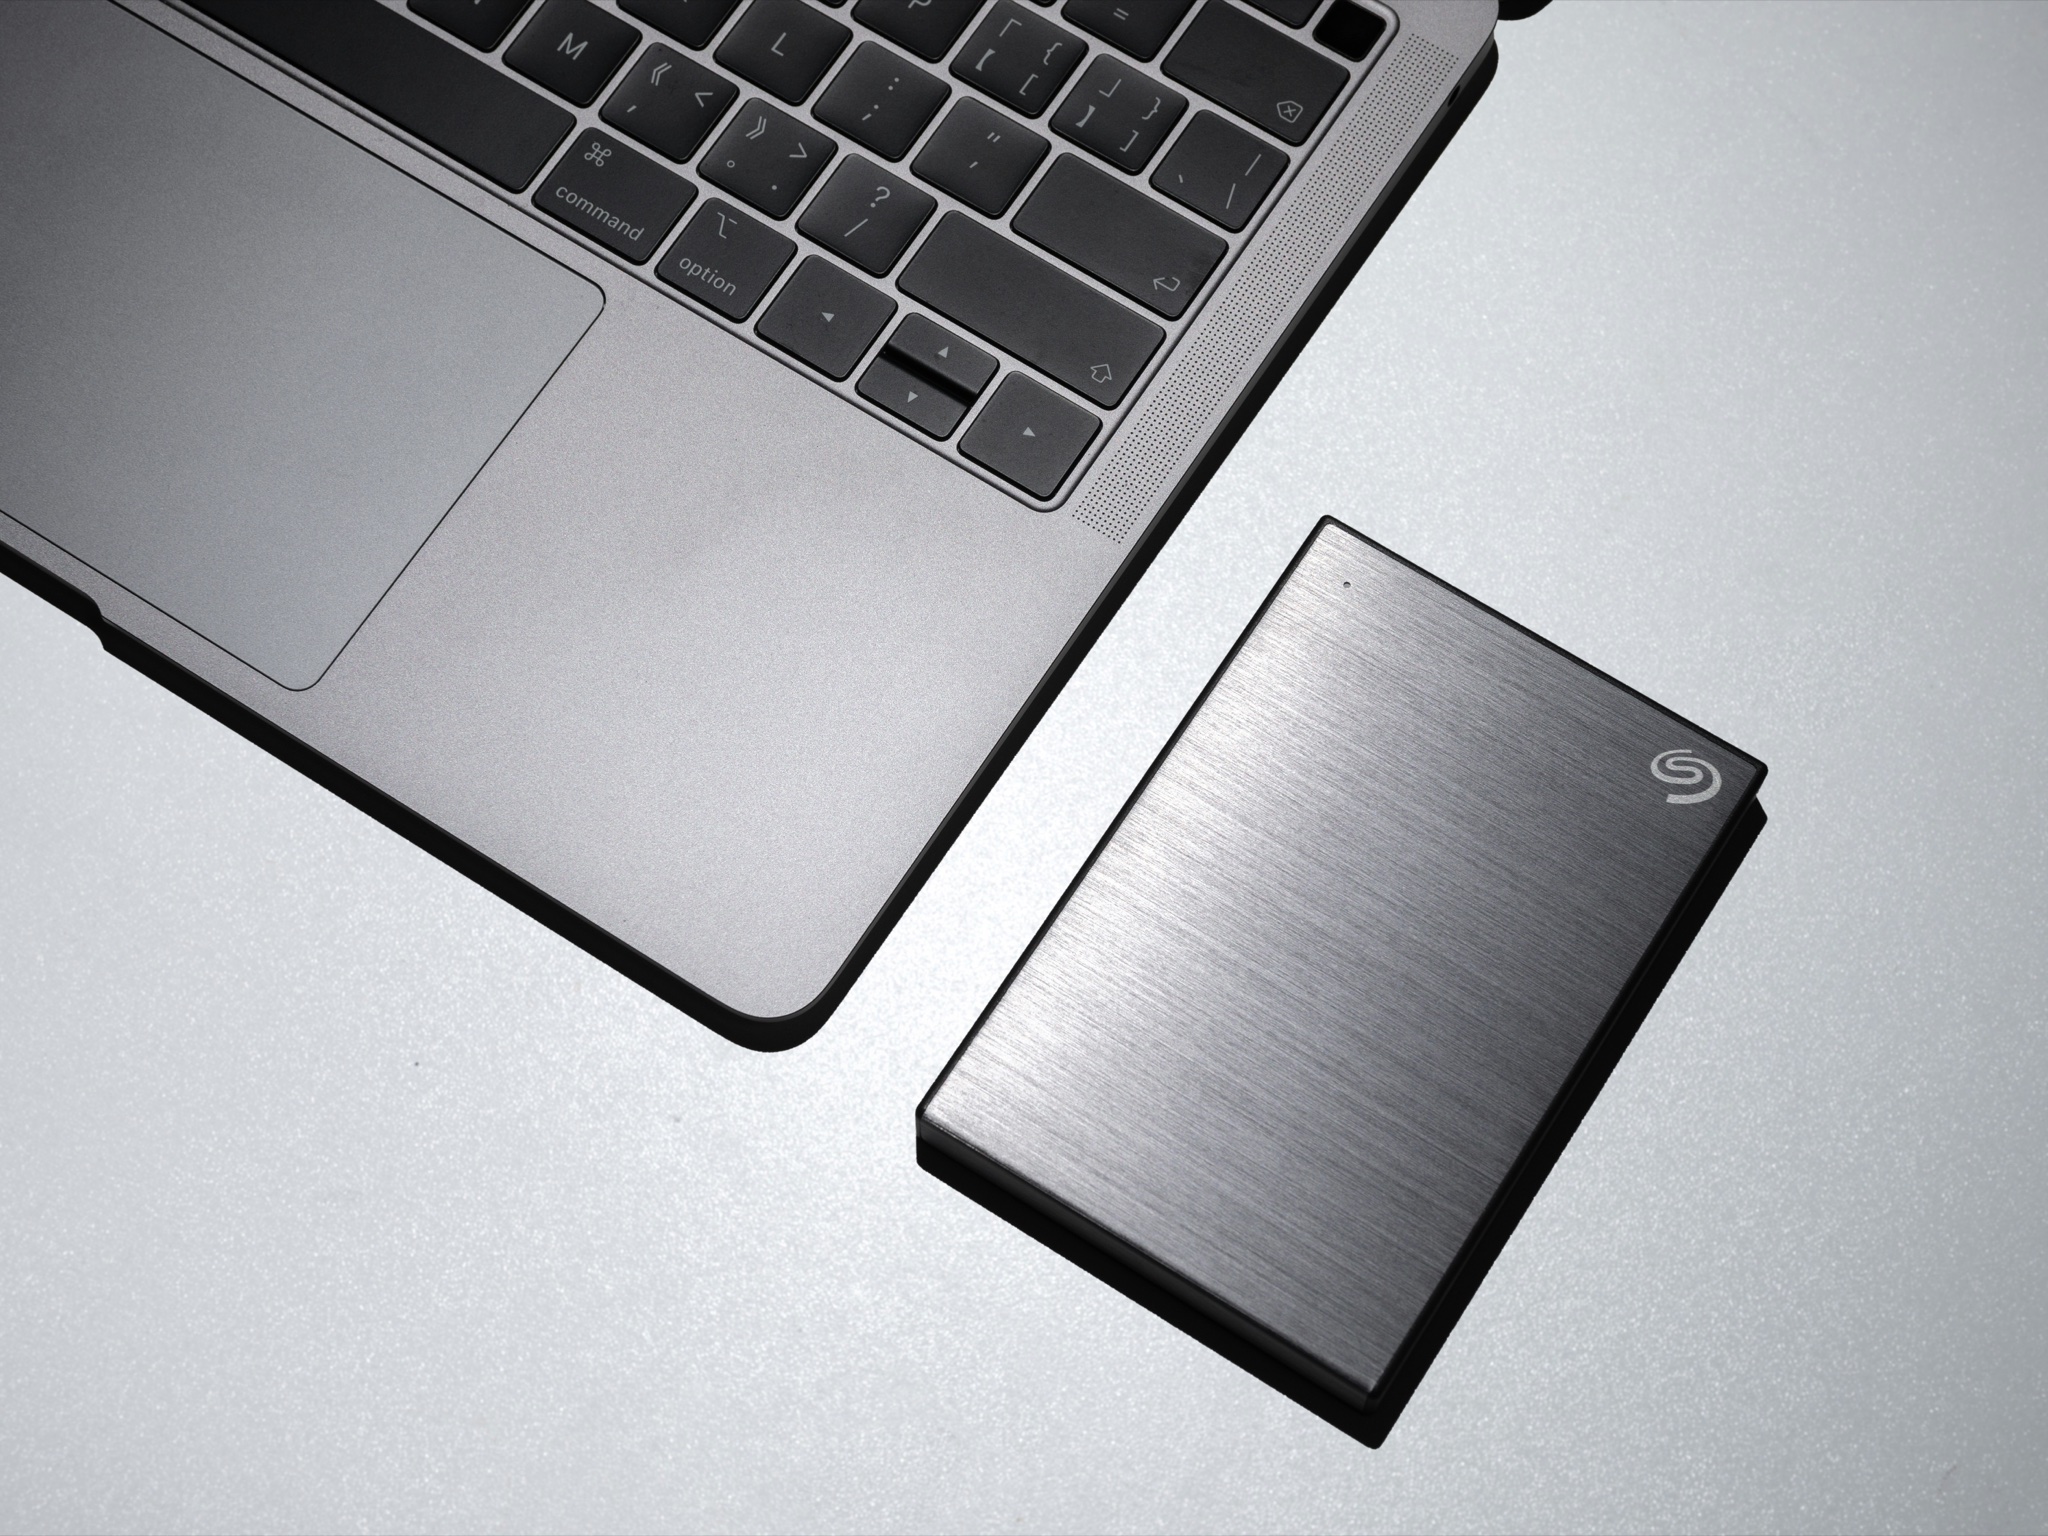
The base MacBook Air 13-inch M4 ships with a 256 GB SSD, configurable to 512 GB, 1 TB, or 2 TB. NOMAD’s full-capability target is 250 GB free. Do that subtraction once and the external-drive question answers itself.
The baseline install (~25 GB with the AI Assistant) plus a mid-tier ZIM library fits fine on 256 GB. The ZIM tiers, with their build dates, are cataloged in our offline knowledge library guide: the stripped-down English mini build runs about 13 GB, the nopic build about 49 GB, and the full maxi build about 119 GB as of the August 2026 build. If you’re choosing what to download first, the offline content packs guide walks the priority order.
Two details make the external path clean. The Air’s two Thunderbolt 4 ports run at up to 40 Gb/s, so an external Thunderbolt SSD serves the library at internal-drive speeds. And because Docker Desktop mounts host folders through its File sharing settings, add the external drive’s path there (documented in Docker’s settings reference) so the containers can see the ZIM directory.
The Battery Is Your Built-In UPS
The MacBook Air 13-inch M4 carries a 53.8 watt-hour battery. Apple’s own claims (up to 15 hours of wireless web browsing, 18 hours of video streaming) are vendor numbers under light consumer loads; Notebookcheck’s measured 16 hours 13 minutes of Wi-Fi web surfing at 150 nits brightness is the more grounded figure, and even that is a reading-and-browsing workload, not a serving one.
Nobody has benchmarked NOMAD’s serving watts on a MacBook, so treat runtime as an estimate derived from the battery spec divided by the review-measured power figures, not a measurement: roughly 10 hours at a ~5 W light-serving load, and roughly 5 hours at a ~10 W mixed load, by the battery-Wh ÷ measured-watts method. Your mileage will track how much AI work you ask of it.
Compare that to the desktop. The Mac mini M4 idles at a remarkable 3 to 4 W, lower than the laptop, but the moment wall power drops, it’s dead unless you bought a separate UPS. The MacBook rides through the outage on its own battery, and when the outage outlasts the battery, you pick the whole server up and move it to wherever power exists. That’s a genuine resilience advantage, and it’s the one thing the mini genuinely can’t match.
Serving Over Wi-Fi (and the Ethernet Dongle)

The MacBook Air has no Ethernet port. It serves over Wi-Fi 6E, and for a household (a few phones, a tablet, a laptop browsing the library) that’s fine. This is a qualitative judgment, not a benchmark: nobody has verified simultaneous-client counts for NOMAD over Wi-Fi, so keep expectations at “family scale,” not “block party.”
If you want wired, any Thunderbolt or USB-C Ethernet dongle works. MagSafe charging is the quiet enabler here: because charging doesn’t consume a data port, both Thunderbolt ports stay free: one can hold the external SSD, the other a wired network adapter — simultaneously.
No eGPU: Choose Your RAM at Purchase
One hardware ceiling deserves its own section because it’s a purchase decision, not a setting. Apple’s support page is unambiguous: “To use an eGPU, a Mac with an Intel processor is required”. Apple-silicon MacBooks have no GPU upgrade path at all.
AI capacity on a MacBook is therefore fixed at the moment you buy it, capped by unified memory. The practical tiers: 16 GB runs the library plus small models comfortably; 24 to 32 GB is the comfortable AI tier. If you’re shopping used or configuring new with NOMAD in mind, buy the RAM now; there is no GPU box to bolt on later.
What About a Windows Laptop?
Some “my laptop” readers are on Windows, and the project ships an official, community-supported WSL2 install guide. The requirements climb compared to macOS: Windows 10 (build 19041 or later) or Windows 11, 16 GB of RAM minimum, 32 GB or more recommended for the AI Assistant, and about 100 GB of free disk.
The GPU picture splits. NVIDIA cards accelerate under WSL2 via CUDA. AMD Radeon and Intel Arc are effectively CPU-only, because the ROCm-on-WSL allowlist excludes most consumer cards.
The performance penalty is real but modest. The guide’s own benchmark on the same RTX 3090 Ti chassis: WSL2 produced 395.6 tokens per second against 468.2 on bare-metal Ubuntu, about 15 percent slower, with first-token latency of 7 ms versus 5 ms. Composite NOMAD benchmark scores landed within roughly 2 points, so for library and education use, WSL2 is fine.
Five gotchas from the guide, compressed:
- systemd must be enabled inside the WSL2 distribution.
- Don’t use snap-installed Docker; use Docker Desktop with WSL integration or native Docker in WSL2.
- Mount propagation must be set to
rshared, and that setting does not survivewsl --shutdown. - Port 11434 conflicts with a natively installed Ollama on the Windows side.
- Verify NVIDIA acceleration with
docker exec nomad_ollama nvidia-smiand look forlibrary=CUDAin the output.
And the sleep caveat mirrors macOS with a twist: Windows laptops on Modern Standby run their network adapters in a low-power offload mode where third-party services don’t get network access. Microsoft’s system power states documentation confirms these machines skip the classic S1–S3 states entirely. A sleeping Windows laptop stops serving, same as a sleeping MacBook. All the lid logic above applies to both platforms.
Which MacBook Should You Use — and When to Buy the Mini Instead
Matching the machine to the job:
MacBook Air, 16 GB. The library server. Wikipedia, Kolibri, maps, notes, light AI. Fanless, silent, idles under 2 W, and the machine most readers already own.
MacBook Pro, 24–32 GB. Serving plus sustained AI work. The active cooling holds performance through long generation jobs the Air steps down from.
The Mac mini, or a used mini PC. If this box will run 24/7 forever (and a dedicated resilience server usually does), a desktop is the better tool: lower idle power, no lid, no battery wear, a quarter of the price of a laptop for the same silicon. That’s the case the Mac mini build makes in full, and the official hardware tiers at projectnomad.us/hardware ($150–$300 budget, $500–$800 sweet spot, $1,000+ power) price it out.
What I’d advise against is buying a MacBook as a NOMAD server. A laptop earns its place here by being the computer you already carry; as a single-purpose appliance it’s the most expensive watt in the lineup. And if the library alone (no AI, no dashboard) is all you want, the lighter path exists: standalone Kiwix runs on the same MacBook with zero Docker and zero serving, which is the whole comparison in our Kiwix vs. NOMAD guide.
Wrap-Up: Why This Matters
Every trade-off in this article is a habit, not a hardware wall. Close the lid and the library sleeps, so don’t, or use clamshell. The SSD fills, so point the big ZIMs at an external drive. The battery wears if it never cycles, so let it cycle.
The point of the laptop build isn’t that a MacBook is the best NOMAD server. It isn’t. The point is that the best resilience server is the one that’s already in your house, already paid for, and already running when the grid drops. If that’s a MacBook, you now know exactly which parts work, which parts don’t, and how to keep your knowledge online through all of them.
Related reading
The $30 Radio That Texts Your Neighbors Without Cell Service or Internet
A $30 LoRa board and a free app let your street text through a multi-day outage — no towers, no internet, no license. Real prices, …
Own Your Spotify: Self-Hosted Music Streaming with Kima
Spotify costs $12.99/mo and deleted 75M+ tracks in 2026. Kima adds Spotify-style discovery to music you own. Full stack, cost math, and who shouldn't switch.
Your Old Echo Dot Can Ditch Alexa: Turn It Into a Private Voice Assistant
Old Echo Dot in a drawer? A one-command jailbreak turns it into a private Home Assistant voice speaker — no Alexa, no cloud. Models, risks, …