The probiotic soda aisle at Whole Foods is a $5 bottle of sugar water with one or two lab-strained cultures (if they’re still alive after pasteurization). The same fizzy, probiotic-rich drink from your kitchen counter costs fifteen cents and contains a half-dozen wild strains that are alive and active at drinking time. The difference — about $1,400 a year for one bottle per day — is the kind of line item that shows up in a grocery budget and stays there.
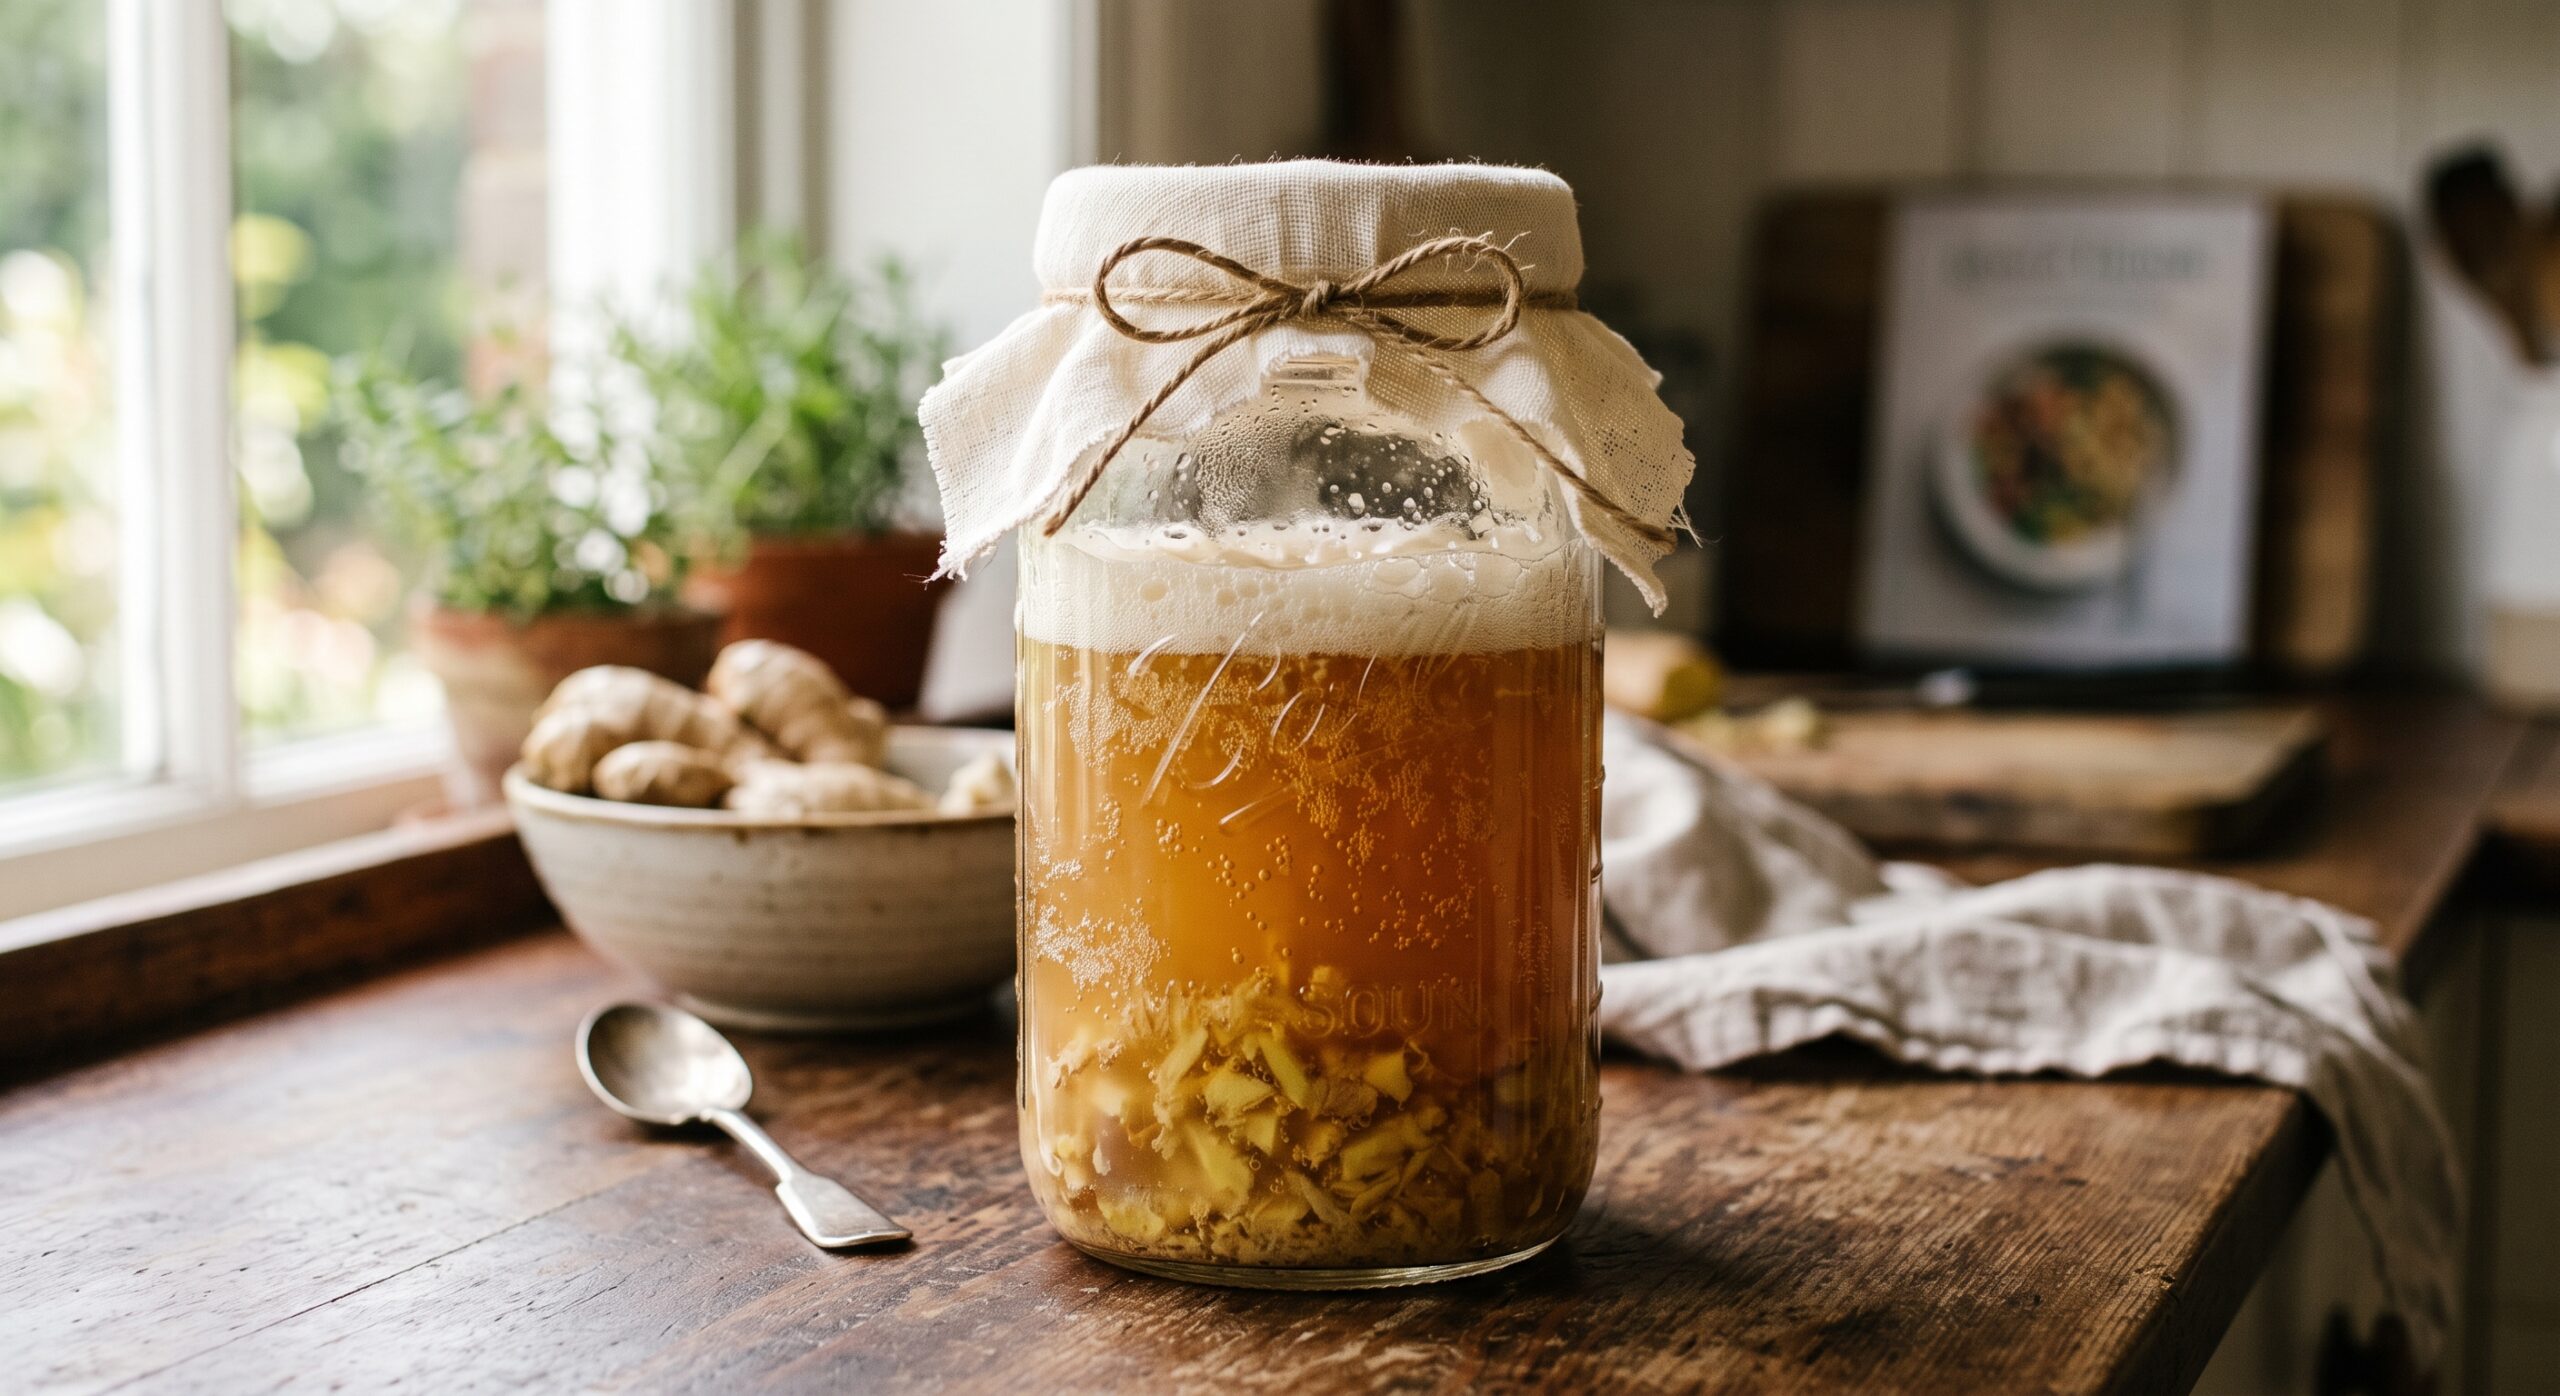
The ginger bug is a living starter culture that feeds itself. You just have to remember to feed it back.
Here’s what this means for your beverage budget, your gut health, and how to start fermenting.
What a Ginger Bug Actually Is
Three ingredients. Fresh ginger, sugar, water. That’s it.
A ginger bug is a wild-fermented starter culture — the beverage equivalent of a sourdough starter. You grate fresh ginger (skin on, because the wild microbes live on the surface), mix it with sugar and water in a jar, and leave it on the counter. Over 5–7 days, wild yeast and Lactobacillus bacteria from the ginger’s skin multiply in the sugar-rich environment, creating a bubbly, pleasantly yeasty liquid that can carbonate any sweetened drink you pair it with.
Unlike kombucha’s SCOBY — which requires starter liquid and specific tea, and can be temperamental about temperature and contamination — the ginger bug works with just sugar and water as its food source. Unlike kefir grains, which need milk and a specific temperature range, the ginger bug is forgiving: room temperature, a clean jar, and a couple of minutes of daily feeding.
This is why the ginger bug is the foundation of the fermentation series. You saw in the kombucha article that a SCOBY acidifies sweetened tea — the ginger bug does the same thing, but to any sweetened liquid you pair it with. Once you’ve kept a living culture alive and productive for a week — watching it bubble, smelling it go from sweet to tangy, tasting the difference between day 3 and day 7 — the SCOBY care and kefir grain maintenance in the rest of the series will feel routine rather than mysterious.
The Cost Gap
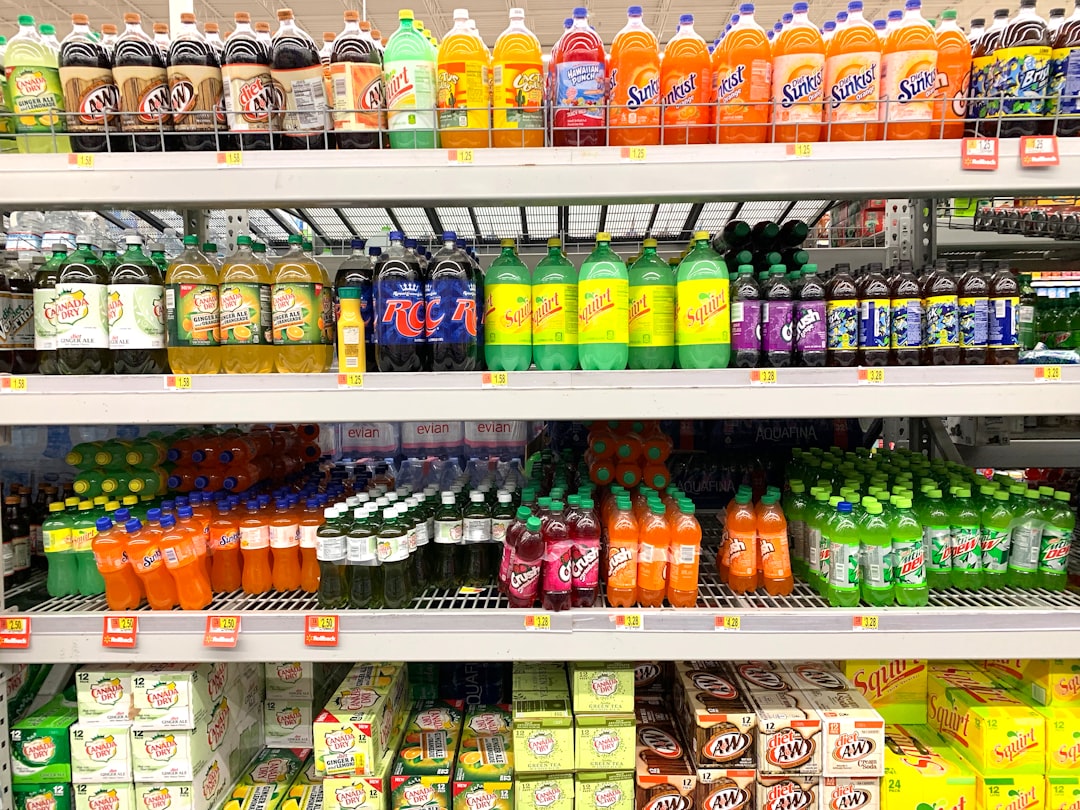
The retail probiotic soda shelf is where this hits home fastest. A single 12-ounce bottle of Health-Ade, GT’s, or Reeds costs $3.50–$5.50. At one bottle per day, that’s $1,278–$2,015 per year.
Homebrewed ginger bug soda? The initial setup — a glass jar, some swing-top bottles, a knob of ginger, a bag of sugar — runs $20–$35. Most of that is reusable for years. Once the bug is active, each 12-ounce bottle costs $0.10–$0.15 in ingredients: a fraction of a thumb of ginger, a teaspoon of sugar, some water.
The math is the same pattern that made the sauerkraut article one of our top performers. The break-even is under two weeks. After that, you’re spending $37–$55 per year for the same daily habit that was costing $1,278–$2,015. The difference — $1,200–$1,800 — is real money that shows up in a grocery budget and stays there.
And the ginger bug itself is perpetual. Once established, you feed it 1 teaspoon of sugar and 1 teaspoon of grated ginger per day (or once a week if you refrigerate it). One quart of active starter can inoculate four gallons of soda. You never buy a starter culture again.
| Path | Initial Cost | Per 12 oz | Per Year (1/day) | Notes |
|---|---|---|---|---|
| Retail probiotic soda (Health-Ade, GT’s, Reeds) | $0 | $3.50–$5.50 | $1278-$2015 | Often pasteurized; 1–2 probiotic strains; preservatives |
| Homebrew (first month) | $20–$35 | ~$0.50 (amortized) | ~$183–$261 | Includes bottles, initial ginger, sugar |
| Homebrew (ongoing, month 2+) | $0 | $0.10–$0.15 | ~$37–$55 | Ginger + sugar + water; bug is self-renewing |
Break-even: 1–2 weeks of daily drinking recovers the $20–$35 initial investment. The ginger bug starter itself costs under $1 to make and lasts years.
What You Need
The shopping list is shorter than most takeout orders:
- 1-gallon glass jar (Mason jar works fine — $5–$10)
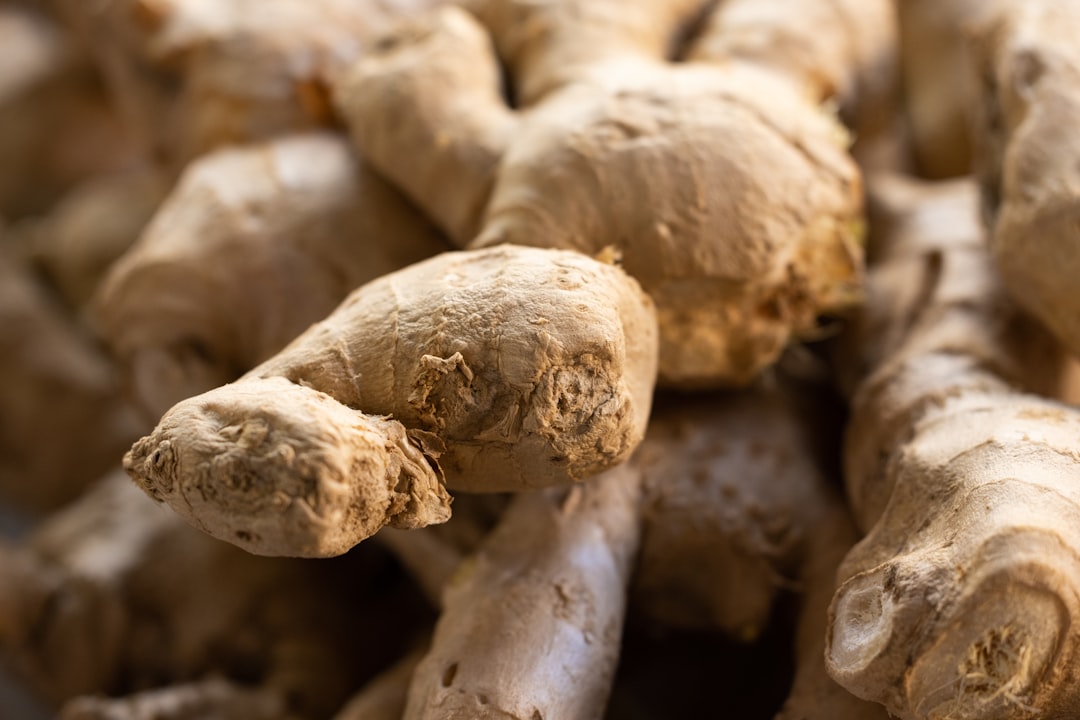
- Fresh organic ginger root (skin on — that’s where the microbes live; ~$2–$3 for a 4-inch piece)
- White cane sugar (plain white sugar is the most reliable fermentable — brown sugar and coconut sugar can work but may slow fermentation; avoid honey for the initial culture as its antimicrobial properties can inhibit the beneficial bacteria you’re trying to cultivate; ~$3 for a 4-lb bag)
- Filtered or dechlorinated water (chlorinated tap water kills the delicate wild yeasts — let tap water sit 24 hours or use bottled spring water)
- Swing-top bottles for carbonation ($15–$25 for a set of 6–12; Grolsch-style works, or any glass bottle with a rubber gasket and wire holder)
- Cloth cover + rubber band (or a coffee filter — anything that keeps flies out while letting air in)
Total initial investment: $20–$35. That’s the whole kit. No pressure canner, no temperature control, no specialty equipment.
The Bug (Days 1–7)
The daily feeding routine takes two minutes:
- Day 1: In your clean jar, combine 2 tablespoons of grated fresh ginger (unpeeled, organic preferred) and 2 tablespoons of white sugar. Add 2 cups of filtered water. Stir until the sugar dissolves completely. Cover with a cloth and secure with a rubber band. Set in a warm spot out of direct sunlight.
- Days 2–7: Each day, add 1 tablespoon of freshly grated ginger and 1 tablespoon of sugar. Stir vigorously to distribute the food and aerate the culture. You’re looking for visible bubbles, a pleasantly yeasty-sweet aroma, and a faint fizz when you stir. This is the sign that wild yeast and Lactobacillus are active and multiplying.
- Ready when active: After 3–7 days, your bug should be vigorously bubbly when stirred, smell pleasantly tangy (not sour or off-putting), and produce an audible fizz. That’s your signal it’s ready to use. If it’s not bubbling after a week, try a different source of ginger — conventionally grown ginger is sometimes irradiated, which kills the wild microbes you need.
Maintenance: Once active, you can keep it at room temperature with daily feeding (1 tsp sugar + 1 tsp ginger), or move it to the refrigerator where it slows down and only needs weekly feeding. It can also be frozen and reactivated. When you want to make soda, just strain out a half-cup of the active liquid and use it as your starter.
Making Soda — And Making It Yours
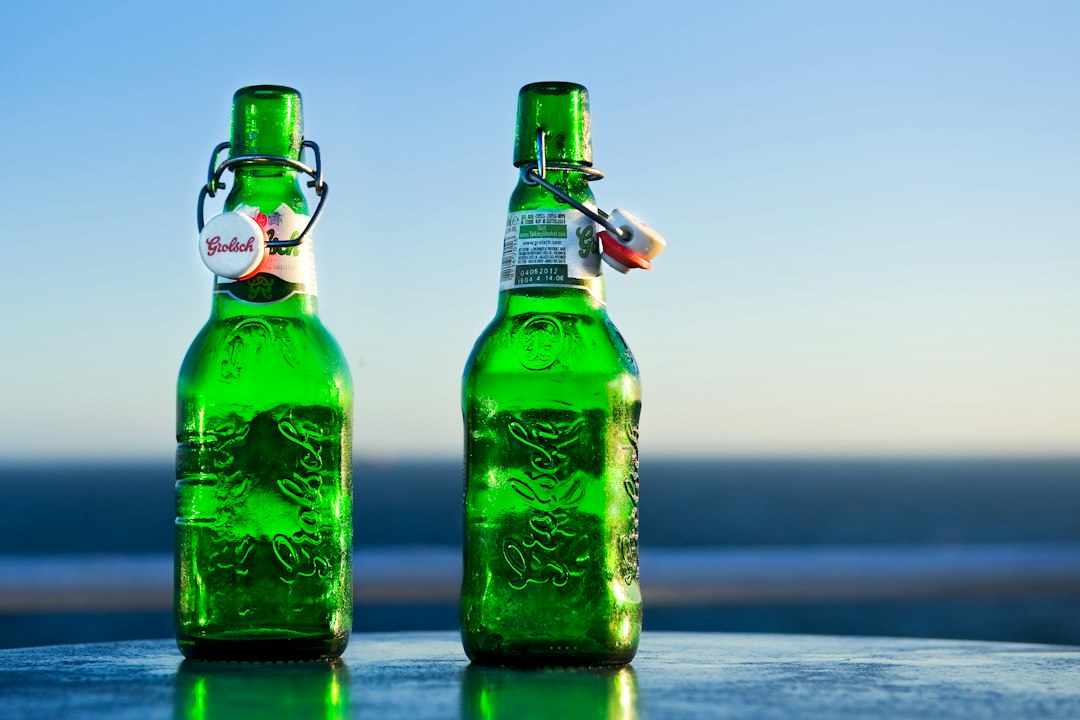
Now you’re a bug keeper. Time to make actual soda:
- Strain ¼–½ cup of liquid from your active ginger bug. You want the bubbly, flavorful liquid, not necessarily all the ginger solids.
- Make the sweet base. For ginger beer: combine 1 cup sugar + 2 inches of fresh grated ginger + 1 quart of water. Simmer 10 minutes, then cool completely. For fruit soda: mix fruit juice (berry, citrus, whatever you like) with enough water to make 1 quart, sweetened to taste — typically ¼–½ cup sugar depending on how sweet you want it. The sugar isn’t just for taste — it’s the food your bug’s yeast will convert to CO₂.
- Combine and bottle. Strain out the ginger pieces. Add your strained ginger bug liquid. Stir well. Pour into clean swing-top bottles, leaving about an inch of headspace. Seal tightly.
- F2: Where you get creative. This is the fun part — the second fermentation is your canvas. Add flavorings at a 10–20% juice-to-base ratio. Fresh fruit muddled in, whole spices lightly bruised, herbs gently slapped to release oils:
- Classic: Fresh ginger slices + lemon juice — spicy, bright, balanced
- Berry: Muddled raspberries, strawberries, or blackberries + a pinch of sugar
- Tropical: Pineapple juice + lime zest — go easy, pineapple can be aggressive
- Herbal: Mint, basil, or lemongrass — lightly bruise to release oils
- Spice: Cinnamon stick, star anise, or cardamom pods — whole spices only
- Unexpected: Grated apple + cinnamon, cucumber + mint, watermelon juice + lime
Start with the classics and branch out. The ginger bug is forgiving — if one flavor combo doesn’t land, you’ve still got a fizzy, probiotic drink that costs fifteen cents. That’s the freedom you buy with the $30 starter kit: not just savings, but the ability to make exactly what you want to drink.
- Ferment: Let sit at room temperature for 2–4 days. You’ll hear gentle pops as CO₂ builds — this is natural carbonation from the wild yeast consuming residual sugar. Burp the bottles once daily (open slightly to release pressure, then reseal) to prevent over-carbonation. Taste after 2 days; when it’s fizzy and pleasantly tart, move it to the refrigerator.
- Refrigerate to halt fermentation. Cold temperatures put the yeast to sleep and preserve the carbonation level you’ve built. Serve well-charged, and remember: this is a living beverage. It’s unpasteurized, alive with culture, and will continue to slowly ferment in the bottle. Drink it fresh.
The Safety Rules
A ginger bug is a wild fermentation — meaning no salt, no controlled starter culture, nothing steering which microbes take hold beyond whatever wild yeasts and bacteria happen to be on that ginger root. This sounds scarier than it is, but it’s the same principle that has kept sauerkraut, kimchi, and sourdough safe for centuries. Here’s what matters:
pH is the safety line. The critical threshold for inhibiting Clostridium botulinum — the bacteria behind botulism — is pH 4.6. A mature ginger bug naturally reaches pH 3.0–4.0, well below the danger zone. The Lactobacillus bacteria you’re cultivating produce lactic acid, which drops the pH and creates an environment where harmful pathogens can’t survive. This is the exact same mechanism that protects the fermentation safety article’s sauerkraut. If you’re concerned, pH strips are cheap and give you objective confirmation.
Mold = discard. Visible mold (fuzzy green, black, or white patches), off colors, or foul odors mean contamination — not healthy fermentation. A healthy bug smells pleasantly yeasty-sweet and gingery, with visible bubbles and a tangy taste. Sediment at the bottom of the jar is normal and harmless.
Use clean equipment and fresh ingredients. Wash your jar, use non-chlorinated water (chlorine kills the wild yeasts you’re trying to cultivate), and grate fresh ginger each day — pre-grated packaged ginger often contains preservatives that prevent fermentation.
The ginger’s antimicrobial compounds help. Ginger naturally contains compounds that inhibit harmful bacteria while the beneficial Lactobacillus and wild yeast outcompete everything else. This is why ginger bug is one of the safer wild ferments to start with — its own chemistry selects for the microbes you want.
The Health Claims
The ginger bug delivers live, diverse probiotic cultures — but the clinical evidence is the same nuanced picture as kombucha. Here’s what the research actually says:
The Oregon State University microbiome analysis of homebrewed ginger beer identified Lactococcus, Lactobacillus, and Bifidobacterium as the dominant bacterial genera — all well-documented probiotic organisms that support digestive health and gut barrier function. Probiotic populations in similar lacto-fermented beverages measure in the 10⁶–10⁸ CFU/mL range, which is within the therapeutic window established for commercial probiotic supplements.
Ginger itself enhances the effect. Research indicates that low amounts of ginger do not harm Lactobacillus and may actually promote the growth of Bifidobacterium — so the ginger you’re feeding the culture is contributing beneficial prebiotic compounds alongside the fermentation-produced probiotics.
But the stronger argument is the sugar reduction. Commercial probiotic sodas — even the “health” brands — still carry 12–16 grams of sugar per 12-ounce bottle. That’s essentially liquid candy with a probiotic sticker. Your homebrew has whatever sugar you put in it, and you can control that precisely.
Treat the gut-health benefit as a plausible bonus, not a medical claim. The fermentation process produces organic acids (acetic, gluconic, lactic), B vitamins, antioxidants from the ginger, and live cultures — all real, all backed by food-science literature. But no single study proves that ginger bug soda cures anything. The value proposition is the elimination of the sugar-sweetened-beverage problem at a fraction of the cost.
The Skill Transfers
This is the bridge article in the fermentation series. You’ve seen the kombucha process already — now you understand the foundation that makes it work:
- Managing pH: In kombucha, the SCOBY produces acetic and gluconic acid to drop the tea’s pH. In a ginger bug, Lactobacillus does the same thing in a sugar-water culture. The mechanism is identical — only the substrate differs.
- Recognizing mold: The same fuzzy-green-or-white rule applies whether it’s a ginger bug, a kombucha SCOBY, or kefir grains. Mold = discard. The visual/smell cues are your safety net across all three.
- Balancing wild microbes: Kombucha uses a controlled SCOBY community, kefir uses specific grain strains, but the ginger bug is a true wild ferment — you’re cultivating whatever beneficial microbes are on that ginger root. Understanding this spectrum (controlled to wild) is what lets you adapt techniques between all three.
- Daily attention habit: Feeding a bug, checking a crock, or moving a SCOBY from one jar to another — these are the habits that turn fermentation from a project into a kitchen practice. The ginger bug builds them with the lowest stakes and fastest feedback loop.
The ginger bug is the gentlest way to build these habits. It needs no temperature control, no specialized equipment, no expensive ingredients. Once you’ve kept a living culture alive and productive for a week, the idea of managing a kombucha SCOBY or reviving kefir grains doesn’t feel like alchemy — it feels like routine. That’s the skill that pays dividends long after the $35 initial investment.
Wrap-up: What This Actually Saves
One bottle of retail probiotic soda per day at $4 each is $1,460 per year. Homebrewed ginger bug soda — after the initial $30 equipment investment pays for itself in two weeks — costs $0.15 per bottle. That’s $55 per year for the same daily habit. The difference is $1,405 that stays in your budget.
The ginger bug renews itself, the bottles are reusable indefinitely, and now you understand the fermentation principle behind the kombucha you read about in Part 1 — and the kefir that’s coming in Part 3. The same $20–$35 investment in glass jars and swing-top bottles covers all three.
Sources
- Fever-Tree Premium Ginger Beer, 8×150ml cans: Target.com — $6.99 (~$0.17/fl oz): https://www.target.com/p/fever-tree-ginger-beer-8pk-150ml-cans/-/A-84981564
- Bundaberg Ginger Beer, 4×1500ml: Walmart — $94.51 (~$2.36/12oz): https://www.walmart.com/c/kp/ginger-beer
- Reeds Extra Ginger Beer, 24-pack 12oz: Walmart — $80.99 (~$2.84/bottle): https://www.walmart.com/c/kp/ginger-beer
- Cost breakdown — store-bought vs. homemade: Health Declassified — store-bought $4/bottle, homemade ~$0.10–$0.12/bottle: https://healthdeclassified.com/newsletters/homemade-ginger-bug-soda-vs-store-brands/
- Ginger bug recipe (complete, 1 quart): Fermentation Adventure: https://fermentationadventure.com/how-to-make-a-ginger-bug-for-homemade-soda/
- Ginger bug science + pH range (pH 3.0–4.0): Queen Bee: https://www.the-queenbee.com/blogs/news/what-is-a-ginger-bug-fermented-ginger-starter-explained
- Ginger bug starter method: Grow Forage Cook Ferment: https://www.growforagecookferment.com/how-to-make-a-ginger-bug/
- UC Davis pH 4.6 safety threshold: YummyReady (citing UC Davis): https://yummyready.com/2026/01/13/ginger-bug-soda-safety-bottles-pressure-alcohol-and-wrong-microbes/
- FDA guidance on fermented produce (pH below 4.6): Alibaba Spice Basics: https://spice.alibaba.com/spice-basics/how-can-i-use-ginger-for-fermentation
- Microbiome analysis of homebrewed ginger beer (Lactococcus, Lactobacillus, Bifidobacterium identified): Oregon State University: https://ir.library.oregonstate.edu/downloads/g158bp92r
- Probiotic CFU range (10⁶–10⁸ CFU/mL): Queen Bee: https://www.the-queenbee.com/blogs/news/what-is-a-ginger-bug-fermented-ginger-starter-explained
- Ginger enhances probiotic growth (low amounts don’t harm Lactobacillus): Herbsey: https://herbsey.com/Herbs/Ginger/Ginger-and-Probiotics
- Lactobacillus health benefits (digestive health, gut barrier): Science Insights: https://scienceinsights.org/is-fermented-ginger-good-for-you-probiotics-sugar-more/
- Fermented ginger health benefits (Practical Self Reliance): https://practicalselfreliance.com/honey-fermented-ginger/
Internal links:
- The Sauerkraut Cost Article — the cost-comparison template this series follows
- DIY Kombucha at Home — LMA-21 (Part 2 of this series)
- Fermentation safety principles — see the fermentation safety research brief