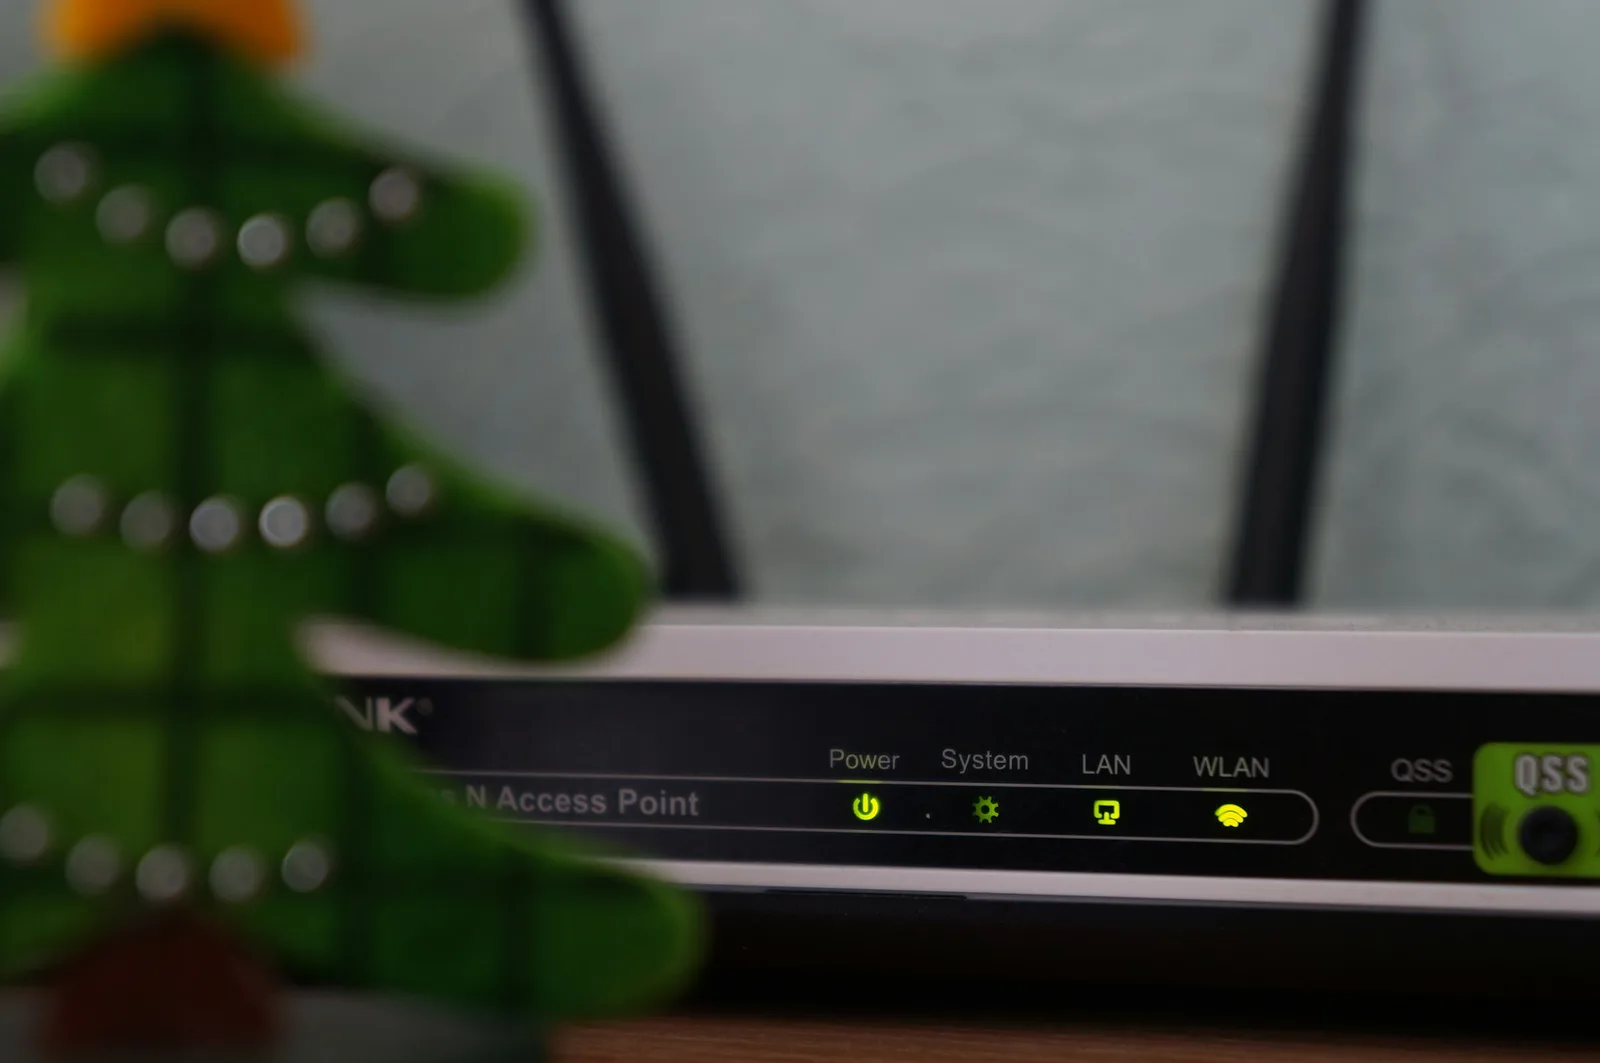
A few years back, a British IT consultant named Matt Smith hooked a Pi-hole up to his home network and pointed it at his Samsung smart TV. The results were startling: once he blocked the TV’s advertising and telemetry domains, more than half of all DNS requests on his entire network were being blocked, including 7,000 requests during a single football match.[1] The TV kept working fine. It just stopped talking about him behind his back.
That story stuck with me because it captures the two things Pi-hole does better than anything else I’ve used. First, it blocks ads and trackers on devices that can’t protect themselves. Second, it shows you, in plain numbers, what your gadgets are doing when you’re not looking.
This guide covers what Pi-hole is, how it works, what you need to run one, and the honest limits of the approach. The whole build takes an evening. The hardware can cost less than a takeaway dinner.
The Problem: Your Browser Is the Only Device Defending Itself
If you run an ad blocker, it lives in your browser. That covers exactly one application on one device. Meanwhile, your smart TV is phoning home to ad servers, your phone apps are reporting to analytics endpoints, your game console is loading sponsored tiles, and that bargain smart plug is chatting with a server in a country you can’t place. None of those devices can run a browser extension. Most of them don’t even ask permission.
The usual advice, “just install an ad blocker,” quietly assumes you only ever use one browser on one computer. For a household full of connected devices, that’s maybe 20 percent of the problem.
How Pi-hole Works
Pi-hole is a DNS sinkhole, and the mechanism is simpler than the name suggests.[2]
Every time any device on your network wants to reach anything on the internet, it first asks a DNS server to translate a domain name into an IP address. That lookup happens before any connection is made, before any data flows. Pi-hole inserts itself at that exact step. You tell your router to hand out Pi-hole as the network’s DNS server, and from then on every lookup from every device passes through it. If the requested domain is on a blocklist of known advertising, tracking, or malware domains, Pi-hole answers with a dead end. The connection never happens. The ad never downloads. The tracker never reports.
Two consequences follow from that design, and both matter:
It covers everything. Phones, TVs, tablets, consoles, smart speakers, your laptop, your partner’s laptop, guests’ devices. Anything that joins your Wi-Fi is protected automatically, with nothing to install on any of them.
It works at the domain level. Pi-hole decides based on the name being looked up, not the content being served. That gives it enormous reach, and it also defines exactly where it fails. More on that shortly.
Because blocked requests die at the lookup stage, the ad content is never downloaded at all. Pages load lighter, and on a metered connection the savings are real rather than cosmetic.
What You Need
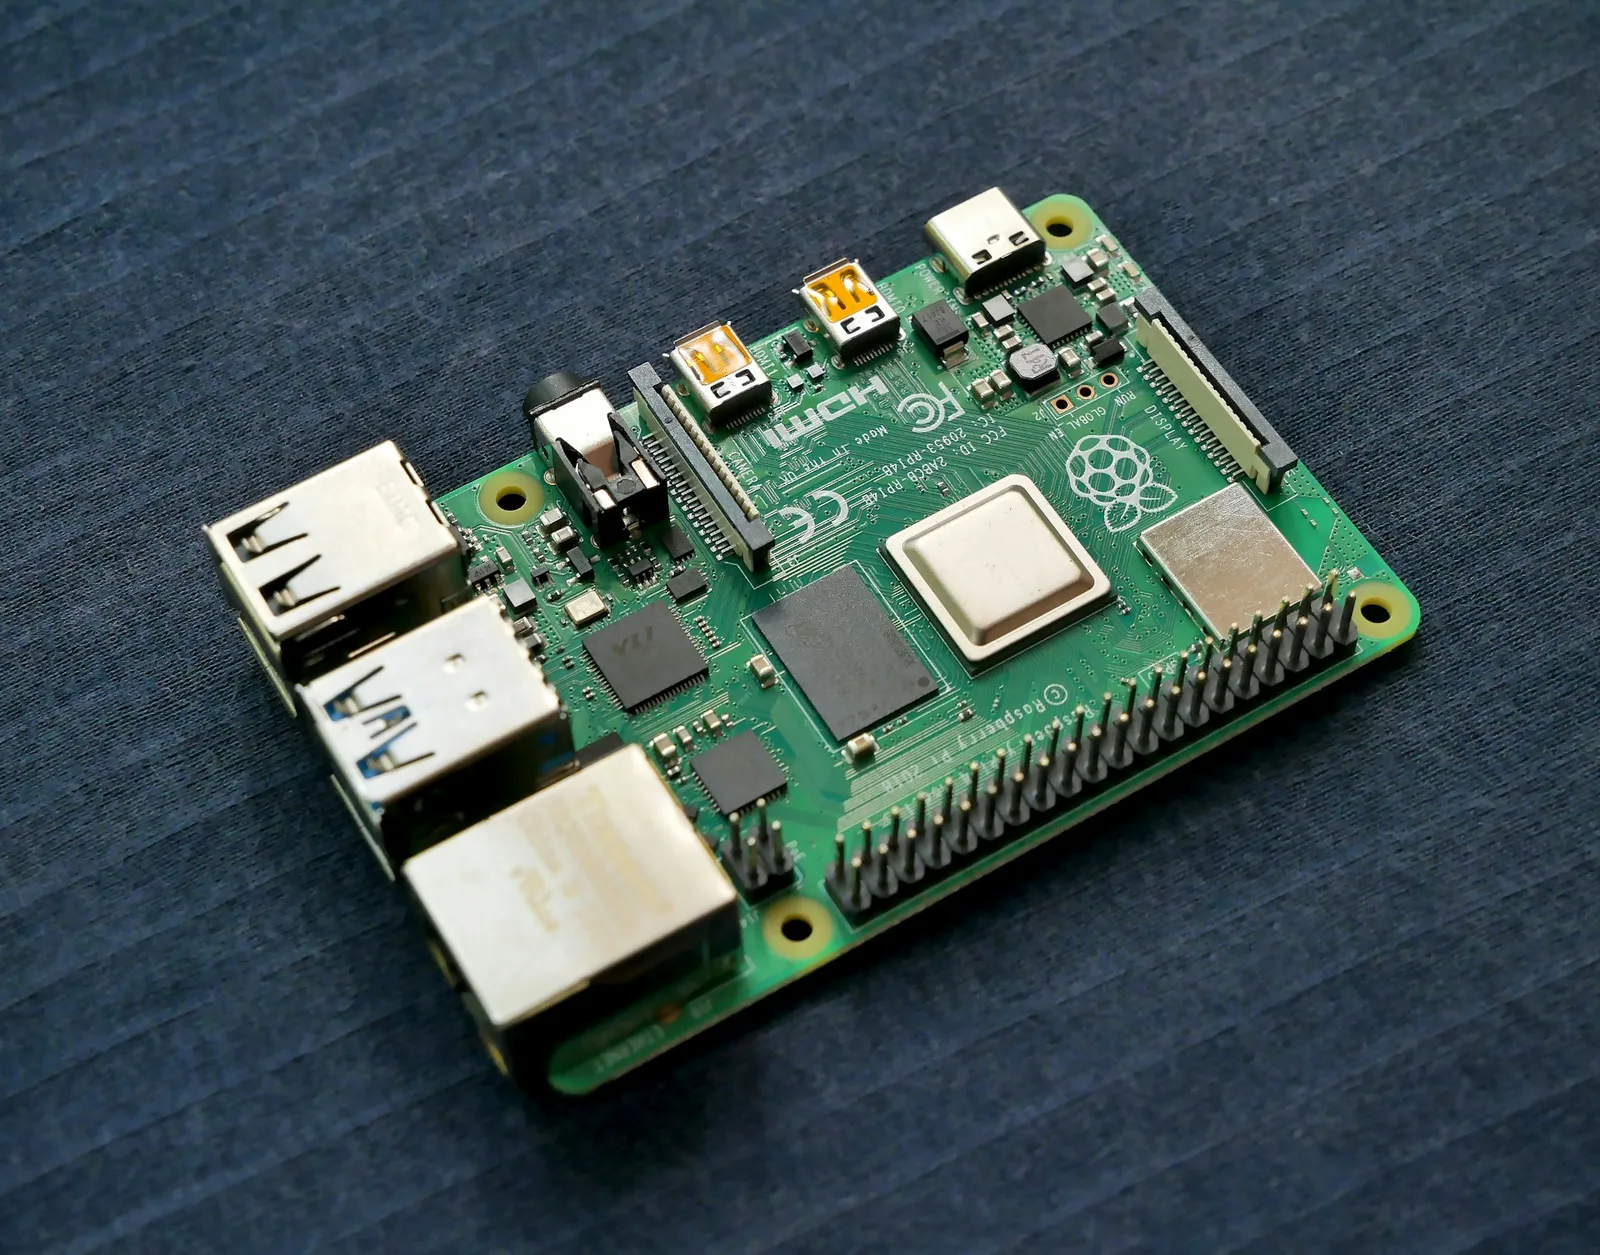
The hardware bar is almost comically low. The official prerequisites call for 512MB of RAM and 2GB of free disk space, with 4GB recommended.[3] That is a Raspberry Pi Zero, an old laptop, a dusty mini PC, or a small virtual machine. Despite the name, you are not limited to Raspberry Pi hardware: any machine running a supported Linux distribution, including Debian, Ubuntu, Fedora, or Raspberry Pi OS, works, and there’s an officially supported Docker image if you’d rather containerize it.
Two requirements deserve emphasis:
A static address. Pi-hole needs a fixed IP so your router can point every device at it. A DHCP reservation in your router’s settings is fine; that’s what I use.
An always-on device. If the Pi-hole box goes down, your whole network loses DNS, which from a device’s perspective looks exactly like losing the internet. Pick hardware you’re happy leaving on. A Pi sipping three watts is ideal; your daily-driver laptop is not.
The Weekend Build
The actual install is one command from the official docs, which walks you through an interactive installer: upstream DNS provider, blocklist confirmation, static IP, admin password.[4] Fifteen minutes if you read every screen.
The step that matters most comes after: telling your router to hand out Pi-hole’s address as the DNS server for the whole network. Every router hides this in a different menu, usually under DHCP or LAN settings. Change it once, and every device picks it up the next time it joins the network. No per-device configuration unless you want it.
One reason the project feels fresh right now is Pi-hole v6, released in February 2025.[5] The big change is architectural: the web interface and REST API are now embedded directly into the core FTL binary, which eliminates the old lighttpd web server and PHP dependencies entirely. The interface got a full redesign with Basic and Expert modes, native HTTPS support landed, and Docker became a first-class deployment. If you tried Pi-hole years ago and remember a fiddly stack of moving parts, v6 is a meaningfully leaner install.
Once it’s running, the admin dashboard becomes mildly addictive. Total queries, percentage blocked, top clients, top blocked domains, all live. It is the single best way I know to see your own network.

Blocklists: The Engine Room
Pi-hole ships with a sensible default list, but blocklists are the real engine, and you can add as many as you like. The most widely recommended starting point is the StevenBlack unified hosts collection on GitHub, which consolidates several reputable lists into one, with variants that also block fakenews, gambling, or social trackers if you want them.[6]
Lists update constantly as ad networks rotate domains, and Pi-hole’s “gravity” update pulls fresh versions on a weekly schedule automatically. Your maintenance burden is roughly zero.
A word of caution from experience: resist the urge to bolt on every list you find on day one. Aggressive lists occasionally block domains that legitimate services depend on, and when something breaks, a lean setup is far easier to diagnose. Start with the default plus StevenBlack, live with it for a week, then expand.
The Honest Limits
Pi-hole is excellent, and it is not magic. Three limits matter, and most guides gloss over them.
It cannot block YouTube ads. YouTube serves ads and videos from the same domains, so blocking the ad means blocking the video. This is structural, not a configuration problem. The same applies to Facebook and Instagram in-feed ads. For those, a browser-level blocker like uBlock Origin, which can inspect and filter content inside a page, remains the right tool. The two complement each other; neither replaces the other.
It cannot see inside encrypted traffic. Pi-hole acts on the domain lookup, before any connection exists. It has no visibility into what a page contains once allowed. That’s the correct privacy posture, but it means fine-grained, page-level filtering stays in the browser.
Stubborn devices can route around it. Some gadgets hardcode their own DNS servers or use DNS-over-HTTPS to bypass the network’s resolver entirely. The fix is a firewall rule on your router redirecting all outbound DNS traffic to Pi-hole, which catches most of them. Devices using encrypted DNS to third-party resolvers are harder, and blocking known DoH provider domains is the standard countermeasure.

Where Builds Go Wrong
I’ve made each of these mistakes so you don’t have to.
Forgetting the static IP. Skip the DHCP reservation and one day the Pi-hole box comes back from a reboot with a new address. Every device keeps asking the old address for DNS, and the whole network appears to die at once. The fix takes two minutes; the confusion lasts longer.
Going too aggressive with lists. When a site or app misbehaves, the culprit is almost always an over-blocked domain. The query log shows exactly what was blocked and when; filter by the misbehaving device’s IP, find the blocked entry at the right timestamp, and whitelist it. Diagnosis takes minutes once you know where to look.
Pointing only the router at Pi-hole, then blaming it for slowness. DNS lookups add milliseconds, not seconds. If browsing feels slow after setup, the upstream resolver you chose is the usual suspect. Switching to a different one is a two-click change in settings.
Running it on hardware you also use. A Pi-hole on your work laptop stops working every time the lid closes. Dedicated, boring, always-on hardware is the whole point.
The Advanced Move: Become Your Own Resolver
By default, Pi-hole forwards allowed queries to an upstream DNS provider like Cloudflare or Google, which means that provider still sees every domain your household looks up. If you want to close that loop, the official docs walk you through pairing Pi-hole with Unbound, a recursive resolver that runs on the same box and fetches answers directly from the internet’s authoritative name servers.[7] The result: no third party sees your DNS traffic at all. It’s an optional afternoon project, and it’s the difference between rerouting your privacy problem and solving it.
Wrap-Up: Why This Matters
Most privacy tools ask you to trust someone else’s promise. Pi-hole is different in kind: it runs on your hardware, on your network, and its dashboard shows you the receipts. The first time you watch a “powered off” television steadily polling telemetry servers, something shifts. You stop guessing what your devices are doing and start knowing.

That’s the real value here. The ad blocking is excellent, the bandwidth savings are nice, but the durable win is visibility. One evening, one cheap board, and every device you own gets quieter, faster, and a little more honest.
The same local-first philosophy works for the rest of your smart home: a Home Assistant setup that survives internet outages keeps your lights, sensors, and automations running entirely on your own network, no cloud required.
Sources
- Matt Smith, “Setting up Pi-hole to rein in an extremely noisy Samsung Smart TV,” mattcasmith.net, February 2020. https://mattcasmith.net/2020/02/15/pi-hole-samsung-smart-tv/
- Pi-hole, “Network-wide Ad Blocking,” pi-hole.net. https://pi-hole.net/
- Pi-hole Documentation, “Prerequisites.” https://docs.pi-hole.net/main/prerequisites/
- Pi-hole Documentation, “Post-Install.” https://docs.pi-hole.net/main/post-install/
- Pi-hole, “Introducing Pi-hole v6,” pi-hole.net blog, February 18, 2025. https://pi-hole.net/blog/2025/02/18/introducing-pi-hole-v6/
- StevenBlack, “hosts: Extending and consolidating hosts files,” GitHub. https://github.com/StevenBlack/hosts
- Pi-hole Documentation, “Unbound recursive DNS resolver guide.” https://docs.pi-hole.net/guides/dns/unbound/